Blogging: How to Launch Your WordPress and Blogger Website Without Experience

A practical, step-by-step guide to launching your website on WordPress or Blogger for free, explaining the limits of the free subscription and how to start your digital project today without any technical experience.
Word Count: ~1800 · Reading Time: 9 minutes
Your First Website on the Internet
A complete beginner’s guide to launching your WordPress or Blogger website without any technical experience
Most of us know how to write a Facebook post, take a photo, and share it online. However, when the question “How do I build a website?” pops up, we suddenly think it needs coding skills or a huge budget. In this article by The Yazan Platform, we will dispel this myth completely. Together, we will launch your very first website. Whether you are a doctor wanting a page for your clinic, an artist showcasing your work, a small business owner needing a digital storefront, or simply someone who has something to say and wants a place to say it—this is for you.
Also, if you decide to stick around for this full 11-article workshop, we’ll take you all the way to Web3! But hey, you can stop whenever you want, as soon as you feel you’ve learned exactly what you need to smash your web design goals.
Why WordPress and Blogger Specifically?
Dozens of platforms offer free website creation, but WordPress (WordPress.com) and Blogger deserve your attention first for clear reasons: both have been around for over two decades, feature massive support communities in both Arabic and English, and make it simple to find answers to any basic technical question. Even if you decide later to move to a self-hosted, paid setup, the fundamentals you learn here remain highly valuable.
The core difference between them is straightforward: WordPress offers more flexibility and growth potential, making it ideal for those planning a professional site or media platform down the road. Blogger is faster, lighter, links directly to your existing Google account, and is perfect for a quick start or a simple test run.
A free website is not “lesser” than a paid one—it is a real starting point. Entire news sites, small businesses, and successful portfolios have been built on these free platforms and continue to run on them today.
What Can You Do For Free—And What Are The Limits?
Before diving in, you need to understand the limitations of a free subscription so you do not hit unexpected roadblocks later.
| Feature | Free WordPress | Free Blogger |
|---|---|---|
| Custom Domain (yourname.com) | ❌ yourname.wordpress.com | ❌ yourname.blogspot.com |
| Remove Platform Ads | ❌ | ✅ Partially |
| Install Plugins | ❌ | ❌ |
| Customizable Ready Themes | ✅ Limited | ✅ Limited |
| Publish Pages & Articles | ✅ Unlimited | ✅ Unlimited |
| Storage Space | ✅ 1 GB | ✅ 15 GB |
| E-commerce Store Setup | ❌ | ❌ |
| Traffic Analytics | ✅ Built-in Basic | ✅ With Google Analytics integration |
| Search Engine Optimization | ✅ Partial | ✅ Full via Google Integration |
What this means in practice: your website URL will include a platform extension (wordpress.com or blogspot.com). This is completely fine initially; thousands of successful sites operate this way for years. Once your site generates revenue or requires a more corporate look, you can migrate to independent hosting—a process we cover in later articles of this series.
Creating Your Website on WordPress: Step-by-Step
Step 1: Create an Account
Go to WordPress.com and click “Start for free,” then create an account using your email address. You will be prompted to name your site and choose its subdomain. Select a name that clearly reflects your project’s purpose, as changing it later in the free version comes with technical restrictions.
Step 2: Choose a Theme
The theme determines your website’s overall appearance. WordPress offers dozens of free options, which you can filter by category: business, portfolio, personal blog, and more. Do not spend too much time here; you can change your theme at any time without losing content. Find a theme close to your vision and tweak it, rather than waiting for the “perfect” layout.
Step 3: Configure Basic Settings
Before publishing content, make sure to adjust these three key settings:
Site Title and Tagline: Under the Settings menu, input your site name and a short description explaining its purpose. These fields appear directly in search engine results and browser tabs.
Site Language: Set this to your preferred language, as it controls text alignment, interface details, and date formatting.
Homepage Display: Choose whether your homepage displays your latest posts or a static page you design. For business and professional sites, a static page is generally better because it leaves a stronger first impression.
Step 4: Understand the Difference Between Pages and Posts
This core distinction often confuses beginners: Pages are static and used for permanent content like “About Us,” “Services,” and “Contact Us.” Posts are chronological entries used for news, updates, and ongoing blog content. Start by creating an “About Us” page to clarify what your site offers—this is typically the first page your visitors look for.
The Gutenberg Editor: Your Content Companion
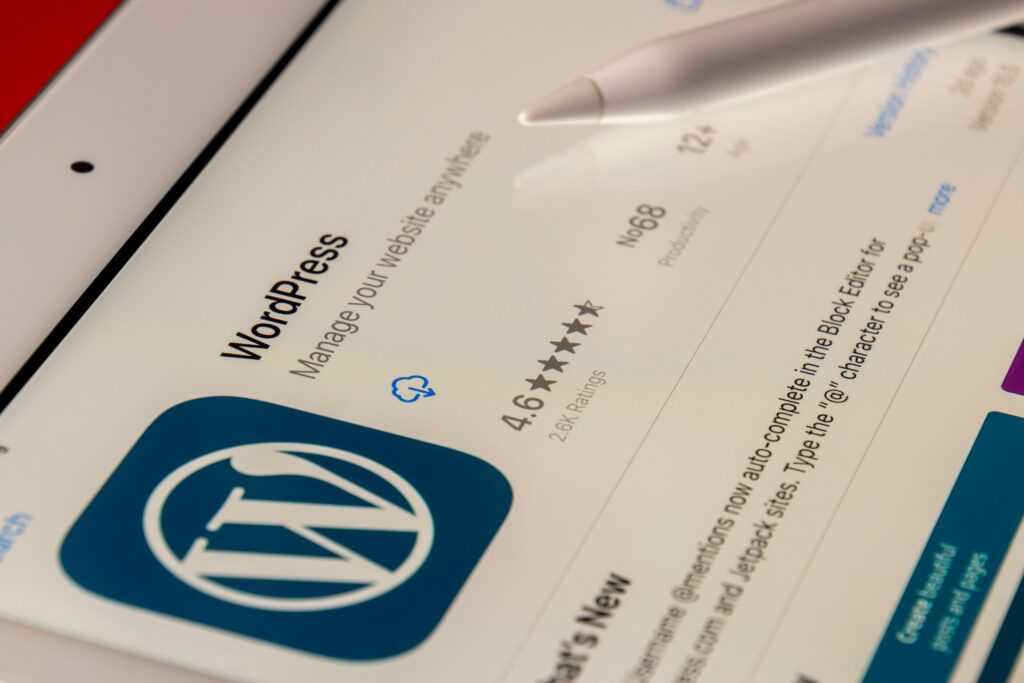
WordPress uses a visual editor called Gutenberg, which operates on a “block” system. Every element on your page—text, images, tables, videos—is an individual block that you can move and style independently. You do not need to write code to get a clean layout; formatting here is very similar to editing a document in Word or Google Docs.
Creating Your Website on Blogger: Step-by-Step
Blogger (Blogger.com) is owned by Google and integrates directly with your Google account. If you have a Gmail address, you already have a Blogger account and do not need to sign up again.
Get Started in Two Minutes
Go to Blogger.com, log in with your Google credentials, click “New Blog,” and enter a title and subdomain. You will immediately face a clean dashboard where you can start publishing. The “New Post” button opens a familiar text editor where you can write and publish content instantly.
Blogger’s Hidden Strength: The Google Ecosystem
The main advantage of Blogger is its native integration with Google services. You can connect Google Analytics to track user behavior, Google Search Console to monitor search rankings and see how visitors find you, and Google AdSense to monetize your site once it qualifies. You can set all of this up with just a few clicks using a single account.
Blogger also provides 15 GB of free storage space shared across your Google account, which is a major advantage over the 1 GB offered by free WordPress.
Blogger’s Limits to Keep in Mind
Blogger has not received major feature updates from Google in recent years, which shows in its older dashboard interface and limited built-in theme selection. It is a highly stable platform, but it is not at the forefront of modern web development. Migrating from Blogger to another platform also requires manual content exporting. If you want scalable, long-term brand growth, WordPress offers a smoother transition path.
Which One Should You Choose?
The right question is not “which platform is absolutely better?” but “which platform fits my current goal?” Here is the quick answer:
Choose Blogger if: You want to launch within an hour, your site focuses almost entirely on text and blogging, you do not plan for major structural expansion soon, and you want to leverage your existing Google account tools easily.
Choose WordPress if: You want a more advanced, professional web presence in the future, require greater design flexibility, or plan to upgrade to self-hosting later. Moving from WordPress.com to a self-hosted site is highly efficient because the underlying software is identical.
There is no wrong choice here. Millions of websites run successfully on both platforms. The only mistake is delaying your launch while waiting for a perfect solution.
Examples of What You Can Build for Free Today
If you are wondering whether a free site matches your objectives, here are practical real-world use cases:
Doctors or Therapists: A site introducing your specialization, detailing your services, and sharing health articles to build authority with new patients, alongside a contact form. All of this can be done professionally for free.
Artists or Photographers: A digital portfolio displaying your work alongside a CV and contact details. Both platforms support high-quality image uploads, and Blogger provides generous storage space for this purpose.
Small Business Owners: A clean informational page about your product or service, complete with contact details and introductory articles. This is more than enough for early-stage testing without hosting costs.
News or Niche Publications: A platform dedicated to regular coverage of a specific topic. This matches the exact design intent of both Blogger and WordPress, and many small news sites still utilize these free options.
Coaches or Consultants: A professional profile highlighting your experience, certifications, and client testimonials, paired with articles demonstrating your industry expertise. This setup builds trust before a client even contacts you.
When Should You Move to Paid Hosting?
You do not need to worry about this today. Clear signs that it is time to upgrade include: wanting a clean custom domain (yourname.com), needing specific plugins for e-commerce or booking systems, or turning the site into a primary revenue stream where you require absolute technical control. The upcoming articles in this series will explain that migration process step by step.
What You Learn Now Will Not Go to Waste
A common concern is: “If I move to self-hosting later, will I lose my progress?” The answer is no. The content editor, page logic, post structures, menus, and categories all carry over because self-hosted WordPress uses the exact same core system as WordPress.com. Even Blogger allows you to export your entire content library into an XML file that can be imported elsewhere. The time you spend mastering these basics now is a true investment in your digital skills.
Summary and Next Steps
Today we covered the core differences between WordPress and Blogger, how to pick the right one for your goals, the full setup process, and how to maximize free subscriptions across various projects. Your immediate next step is to open one of these platforms and publish your first page—even if it is just a simple, one-paragraph “About Us” page.
Recommended Next Step:
Once your site is live, you will need a deeper understanding of website structures and when you might need something more advanced than a basic blog. Read our next article: Web Anatomy: The Difference Between Landing Pages, Blogs, and Portfolios, where we break down various layout types and how to pick the right design for your project.
If you want to improve the content writing that will fill your site, check out our blogging guide series, starting with: How to Start Your Blog From Scratch.
References and Sources:
- Official WordPress Documentation: WordPress.com Support
- Official Blogger Documentation: Blogger Help Center