How to Install Python and Set Up a Professional Development Environment (A Comprehensive Beginner’s Guide)

A step-by-step practical guide for beginners and freelancers to install Python, configure VS Code, and manage virtual environments in 2026 without technical friction.
Word Count: ~890 · Reading Time: 5 min
Installing Python and Setting Up a Professional Environment
A Comprehensive Guide for Beginners and Freelancers to Prepare Your Machine for Automation
In the first article of our series, we explored how Python has become the most powerful tool to boost a freelancer’s income and save time through smart automation and AI integration. However, theoretical discussions don’t build scripts; it is time to move to the practical side and prepare your computer to run robust technical tools in 2026.
The biggest hurdle beginners face initially is not writing the code itself, but setting up the “development environment.” Cryptic terms like command line, environment variables, and virtual environments can feel intimidating at first glance. In this guided manual from Zy Yazan Platform, we break down these steps and simplify them completely, ensuring you write your very first script today without any technical friction.
Step 1: Download and Install Python the Right Way
The essential step is equipping your operating system with the Python interpreter so it understands the instructions you will write later. Follow these steps precisely:
- Head over to the official language website via this link: Official Python Website, and go to the Downloads section. The site automatically detects your operating system (Windows or macOS) and suggests the latest stable release for 2026.
- Download the installer and run it on your computer.
- Crucial Warning (For Windows Users): Before clicking the quick installation button, look at the bottom of the window and check the box that says “Add python.exe to PATH”. Neglecting this tiny option is the root cause behind 90% of beginner errors, as your computer will fail to recognize the Python command when called from arbitrary subfolders.
- Now click Install Now and wait for the process to complete successfully.
Step 2: Choose and Configure a Professional Code Editor (VS Code)
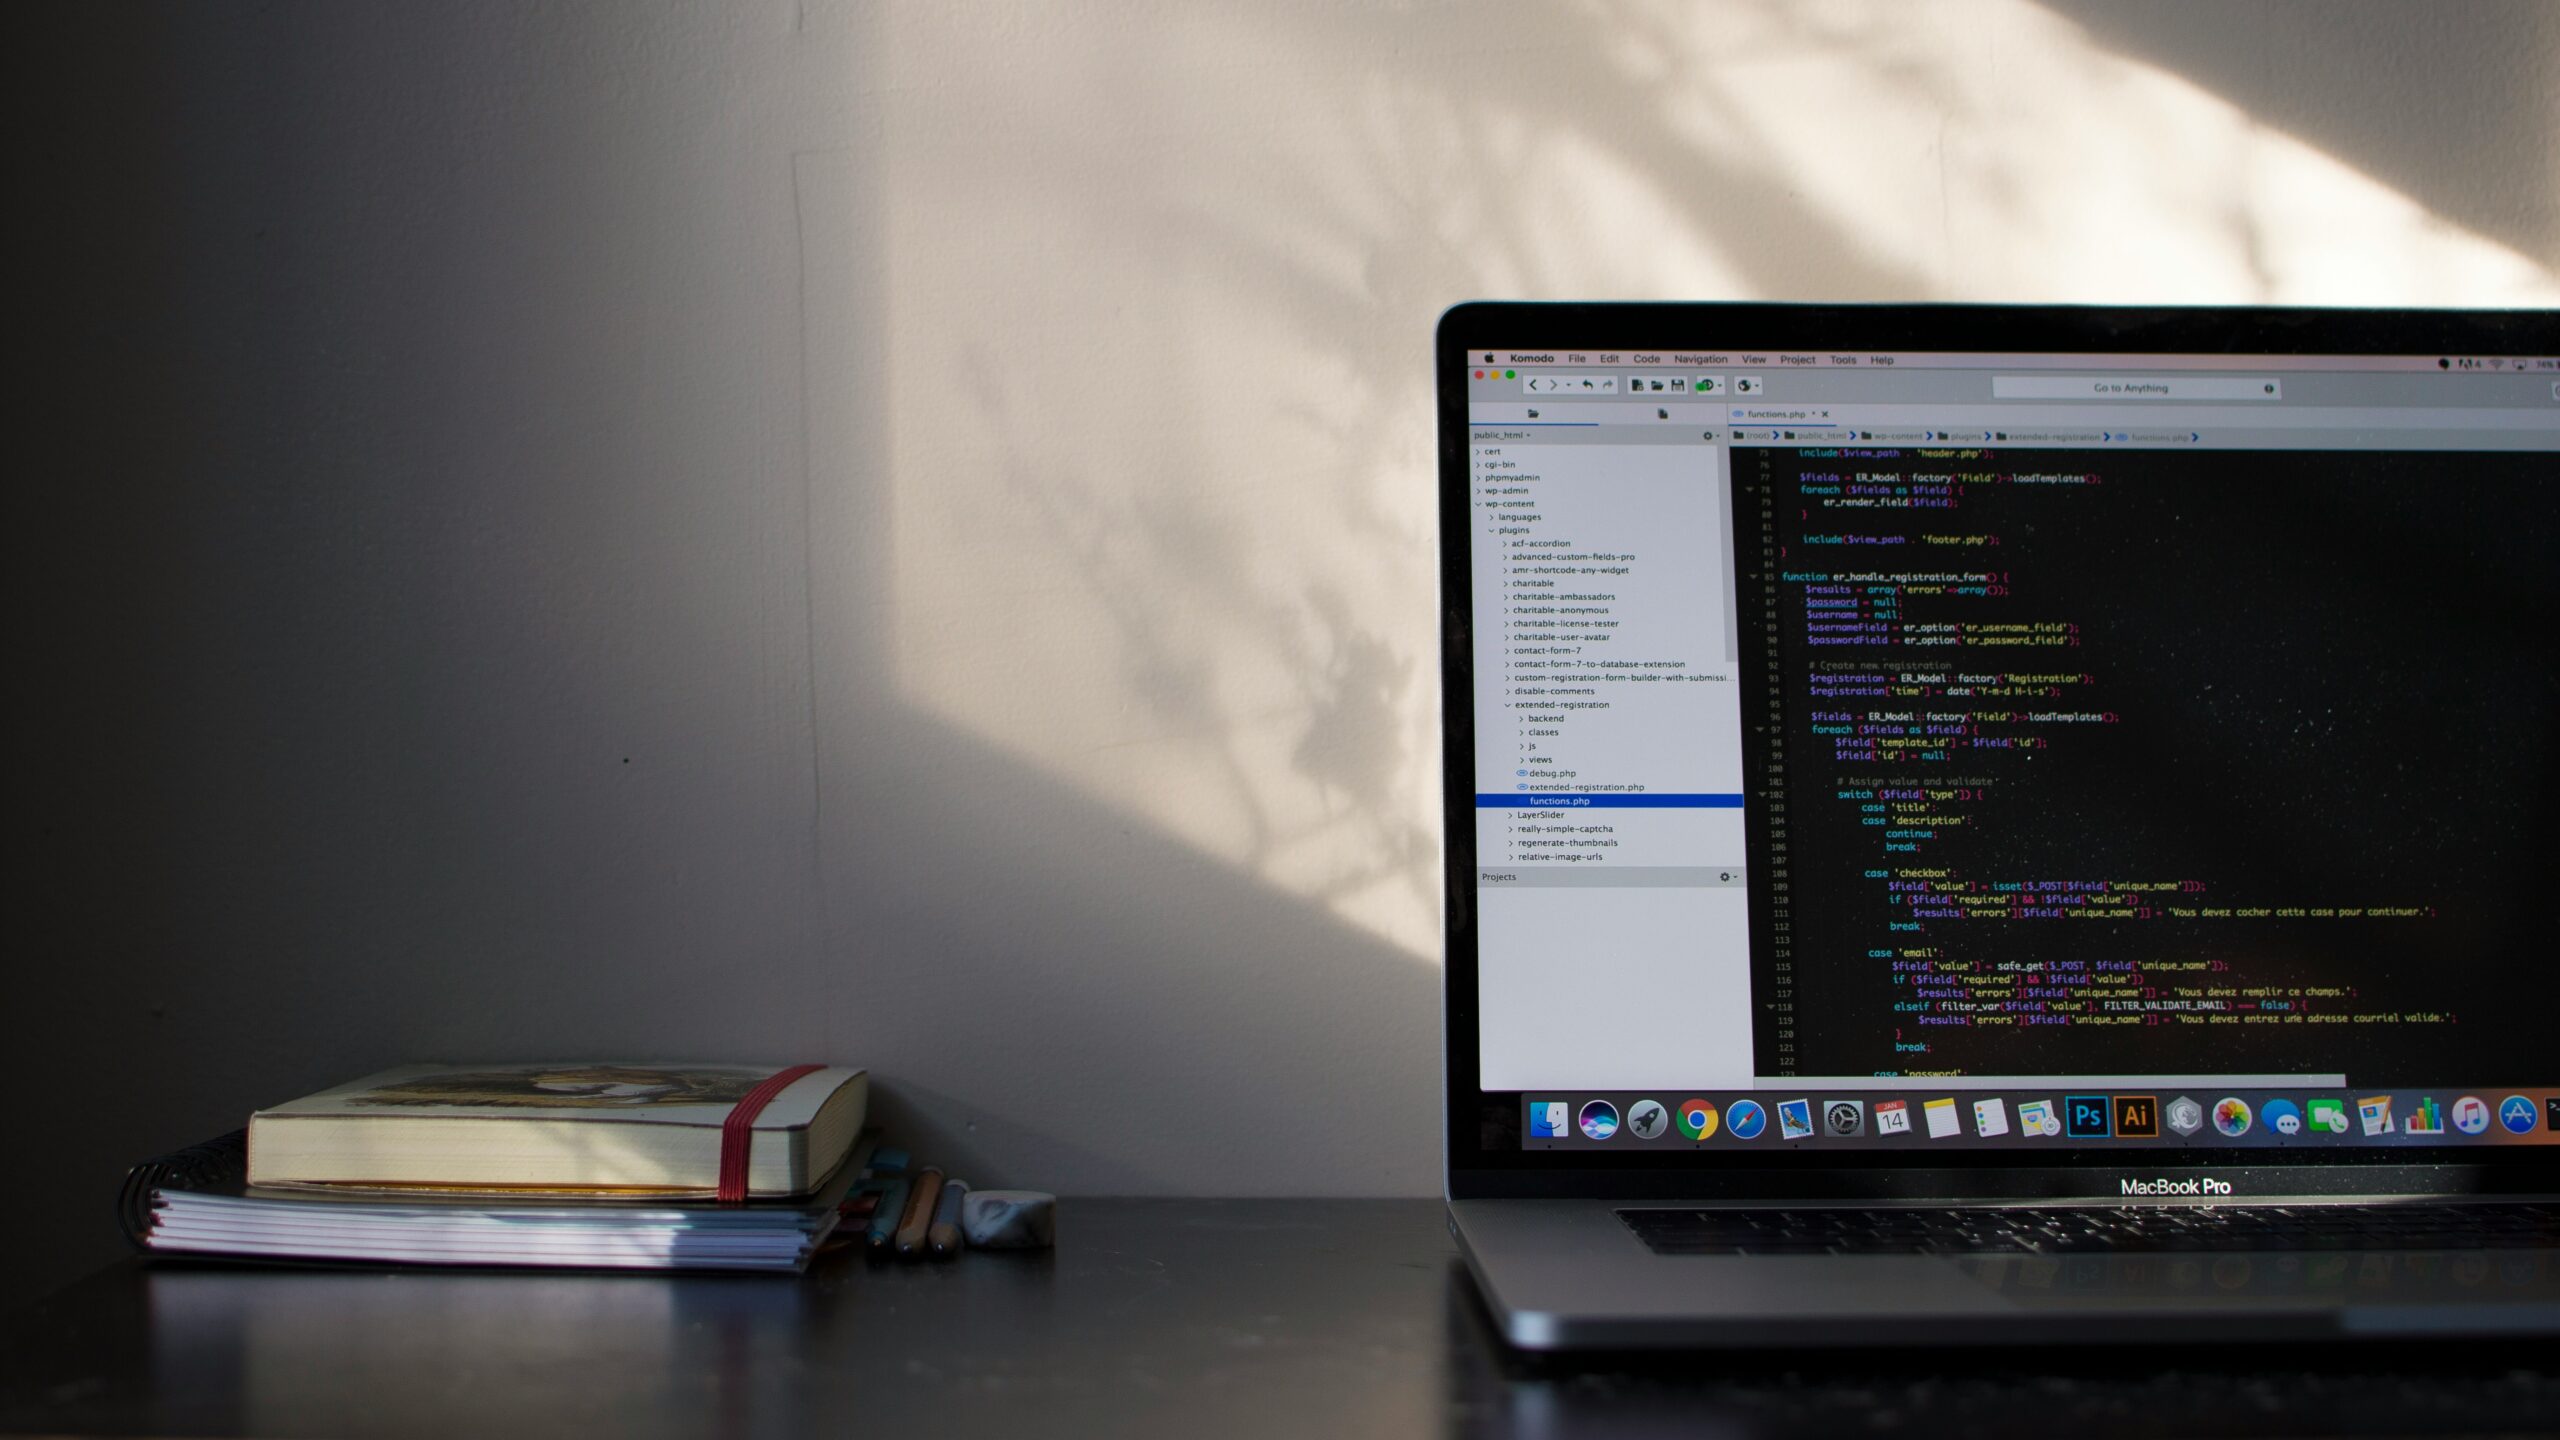
Python code is essentially plain text that you could write inside a basic stock notepad app, but to streamline your workflow and catch syntax errors early, we use a dedicated editor. The undisputed best choice for any developer and freelancer in 2026 is Visual Studio Code by Microsoft, thanks to it being entirely free, lightweight, and packed with thousands of smart extensions.
- Download and install the software from its official site: Visual Studio Code.
- Once opened, navigate to the Extensions marketplace from the sidebar menu (the icon resembles four small blocks).
- In the search bar, type
Python, select the official extension built by Microsoft, and hit Install. This extension provides smart autocompletion, code linting, and syntax highlighting to make reading and debugging your code effortless.
Getting Started with Python in VS Code Guide
Step 3: Verify the Installation via the Terminal
Let us remove any doubt and confirm that your machine officially speaks Python. We will open the built-in terminal console and test its readiness:
- Open the VS Code editor you just configured.
- From the top menu toolbar, select Terminal, then click New Terminal. A dark text panel will open up at the bottom of your editor window.
- Type the following command and hit Enter:
python --versionIf the terminal prints your exact version number (e.g., Python 3.12.x or newer), congratulations! You have successfully installed Python and configured your system environment variables. Your machine is fully primed to execute programmatic scripts.
Step 4: Understanding Virtual Environments (Why It Is an Absolute Necessity)
Imagine managing two separate freelance jobs for different clients simultaneously: the first project is an legacy web scraper relying on a specific older release of the BeautifulSoup library, while the second is a modern web app requiring its absolute latest build. If you install these libraries globally to your main system files, you will trigger dependency conflicts that inevitably break one of your pipelines.
The clean engineering fix utilized by professionals is setting up a isolated Virtual Environment for each distinct project. A virtual environment is simply a self-contained directory within your project workspace that holds an isolated copy of the Python executable and its specific third-party packages, preventing any cross-contamination with your system files.
Pro Tip: Never start a client project without spinning up an isolated virtual environment first. This simple pipeline safeguard guarantees your logic will not crash when deployed onto your client’s production servers or machines later on.
To spin up this isolated container, navigate into your root project directory within the Terminal and run the following command:
python -m venv my_envIn this setup, the initial venv keyword points to Python’s internal virtual environment toolchain, whereas the second parameter my_env serves as an explicit name for the directory being generated. You can swap out my_env for any identifier you want to avoid repeating the keyword twice and make the directory layout perfectly clear. This instruction builds a light folder layout under your assigned string to capture and isolate every dependency you pull down downstream.
Once generated, you must explicitly “activate” this runtime instance prior to pulling down any package distributions. Execute this sequence within the VS Code integrated terminal:
.\my_env\Scripts\activateUpon successful execution, you will see your environment string prefixed inside parentheses `(my_env)` before your shell prompt. This indicates that any package called via the `pip install` manager will drop safely into this local scope alone.
A Quick Note for Alternative Platforms
This guide is tailored with a focus on windows environments to help beginners dodge path hurdles right out of the gate by using the official installation bundle and pointing to the default `python` command strings. Note that the official python installer also ships with a handy system shortcut called `py`, which spares you from typing the full phrase. Keep in mind that Unix-based setups like macOS or Linux run distinct script entry points to trigger environment routines (using the `source` command instead).
Summary of Milestones and Your System Readiness
Let us check off your progress to view how much technical territory you have conquered today:
| Technical Tool | Current Status | Functional Role in Projects |
|---|---|---|
| Python Interpreter | Installed and configured globally within system paths (PATH). | Parsing and transforming code lines into tasks executed by the CPU. |
| Code Editor (VS Code) | Configured and equipped with official language optimization plugins. | The visual space to write scripts, debug logic, and review client assets cleanly. |
| Virtual Environment (Venv) | Understood and primed for deployment with your first functional scripts. | Isolating workspaces to guarantee logic operates identically on any machine. |
Next Step:
Your technical toolset is officially loaded, and your local environment is fully prepared to execute functional programming operations. It is time to stop configuring and start building. Dive straight into the third article of our training series:
The 10 Core Python Commands Every Freelancer Needs (Practical Application) to learn how to interface with Python and pass off your daily routine workloads directly to your machine.
Related Articles:
- Why Every Web Freelancer Should Learn Python in 2026?
- The Writing Code: A Blogger’s Guide to Mastering HTML
Useful Resources:
- Official Guide for Setup Procedures on Windows: Python Using Windows
- Microsoft Walkthrough for Python Configuration in Workspace Environments: VS Code Python Tutorial
Freelancer Skill Development Series 2026
Python for Freelancers — 16 Articles










Series Python for Freelancers — 16 Articles | Zy Yazan Platform © 2026