The Independent Website: A Practical Guide to Moving Your Site to Self-Hosting via FTP and cPanel
A practical illustrated guide to purchasing self-hosting, uploading website files via FTP, and managing databases from cPanel — for anyone wanting full control of their site.
Word count: ~2100 · Reading time: 11 minutes
The Independent Website
From files on your computer to a real website the world can see — A practical step-by-step guide
Note to the reader: This is a fully practical article. Before starting, we recommend reviewing the previous article Behind the Scenes of the Internet to understand what a server and DNS are and why you need them — practical steps are much clearer when you understand the theory.
We have reached the station that seemed far away at the beginning of our journey: your website is ready, its structure is HTML, its styling is CSS, its interaction is JavaScript, and Google now knows it exists. What remains is the final move, from files on your computer to a real server that works 24/7 and anyone in the world can see when they type your website name. In this article from Zy Yazan Platform, we will learn together how to buy self-hosted web hosting, how to log in and use cPanel, and how to upload your files via FTP.

Step One — Choosing a Hosting Company
The market is full of hosting companies, and all of them promise the same things. What separates a good choice from a bad one is not price alone, but a set of practical standards that website owners often discover too late. We will save you this learning curve:
What to Look For Before You Pay
| Standard | Why It Matters | Minimum Acceptable Limit |
|---|---|---|
| Uptime | How many hours their server actually works | 99.9% or higher |
| Technical Support | Do they reply when a problem happens? | 24/7 support via live chat |
| Backup | Do they save a copy of your website? | Daily or weekly backups |
| SSL Certificate | Do they offer HTTPS for free? | Free Let’s Encrypt |
| Server Location | Server close to your audience = faster speed | Europe or Middle East for the Arab audience |
Some of the most trusted companies for a new website are: Hostinger, SiteGround, and Namecheap. All of them offer cPanel, good support, and reasonable prices to start. Always look for recent reviews before choosing, as company reputations can change.
Avoid the temptation of “Lifetime” or “Unlimited” plans at very low prices. In hosting, as in much of life, an exceptional price usually has a hidden cost.
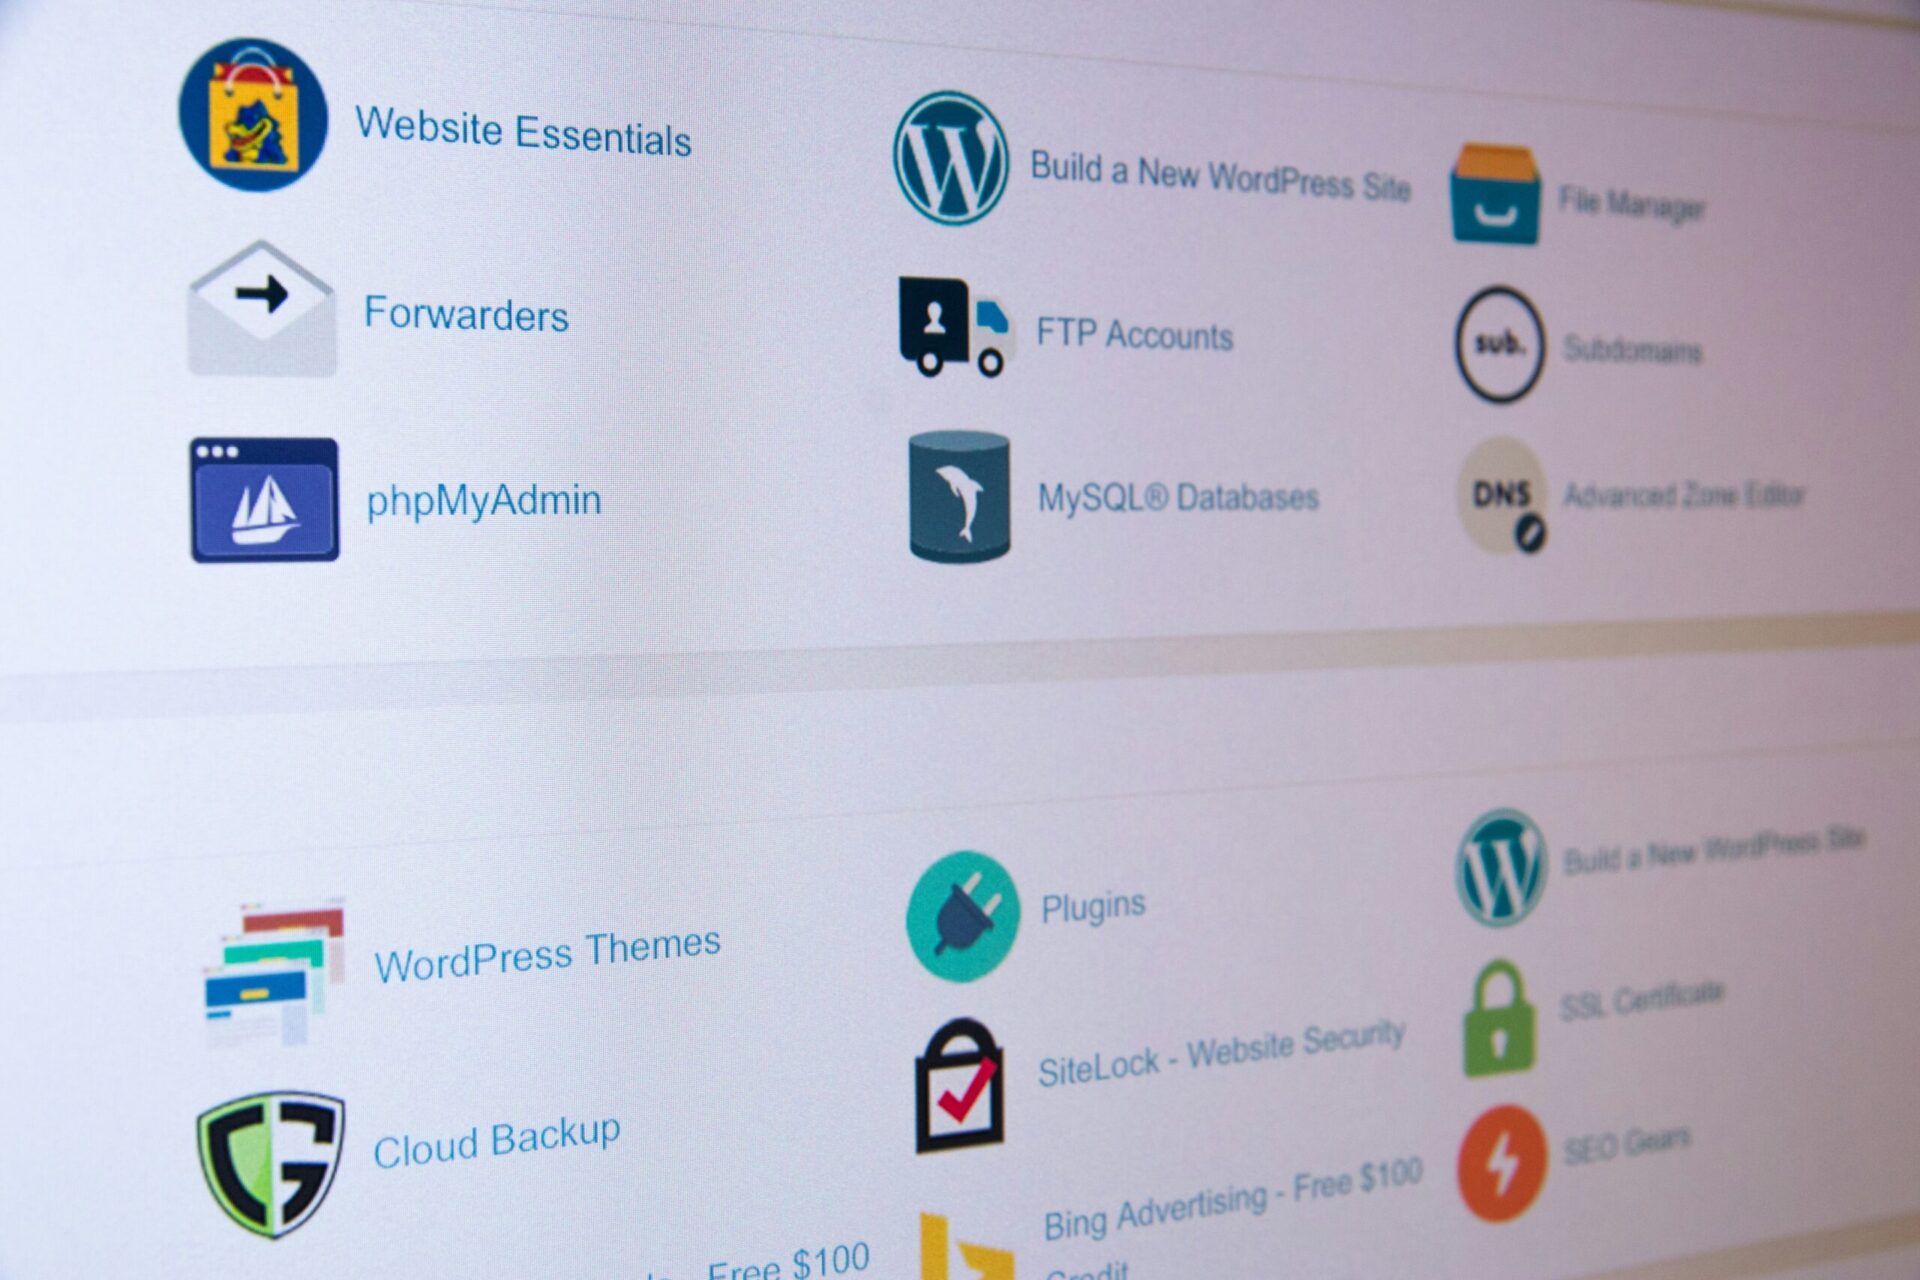
cPanel — The Server Control Panel
cPanel is a visual interface that allows you to manage everything on your server without needing complex text commands. Think of it like an airplane cockpit: dozens of buttons and sections, but you do not need all of them. You only need a few buttons that you learn once and use always.
When you buy your hosting, you will receive an email containing the cPanel link, username, and password. The link usually looks like this:
https://yoursite.com:2083
or
https://server123.hostingcompany.com:2083

The Sections You Will Actually Use
Out of dozens of cPanel icons, these are the ones that matter to you as a new website owner:
File Manager — A built-in file browser that allows you to upload, edit, and delete files directly from your browser without extra programs. It is useful for quick edits.
MySQL Databases — When you install WordPress or any content management system, it needs a database to store articles, settings, and users. From here, you create it, name it, and set its permissions.
App Installer (Softaculous) — A tool that installs WordPress with one click instead of the long manual process. Most hosting companies include it in cPanel.
Email Management — Creating an email with your own domain, like info@zyyazan.sy instead of Gmail or Outlook.
Backup — Downloading a full copy of your website and its databases to save on your computer.
FTP — The File Transfer Bridge
FTP stands for File Transfer Protocol. It is the professional way to move your files from your computer to the server. It is faster and more reliable than uploading files through the cPanel browser when the number of files is large.
Three Steps to Get Started with FTP
Step One: Install an FTP Program: The most famous free program is FileZilla. It is available for Windows, Mac, and Linux. Its interface is clear and millions of developers use it. Download it from filezilla-project.org for free.
Step Two: Get Connection Data: From cPanel, look for the “FTP Accounts” section and create a new account (or use the main account). You will need four things:
Host:     ftp.yoursite.com   (or the server IP address)
Username: your-ftp-username
Password: your-ftp-password
Port:     21                 (The default for FTP)
Step Three: Connect and Upload: Open FileZilla, enter the data in the top bar, and press “Quickconnect”. Two windows will appear side by side: the left shows your computer files, and the right shows the server files. Drag your files from left to right, and the transfer starts immediately.
Important Warning: The correct folder to upload your website files on the server is public_html. This is the root folder that the browser sees when someone visits your domain. Any file outside this folder will not be seen by visitors.
Installing WordPress Manually — For Understanding, Not Complexity
We saw that Softaculous installs WordPress with one click. However, knowing the manual method gives you a deeper understanding of what happens behind the scenes. It also helps you when you work with servers that do not have Softaculous. The steps are:
1 — Download WordPress: From wordpress.org/download, download the latest version and unzip it on your computer. You will find a folder named wordpress containing dozens of files.
2 — Create the Database: In cPanel, open “MySQL Databases”, create a new database and a user for it, and grant the user full permissions on the database. Keep three things: the database name, the username, and the password.
3 — Upload Files: Via FileZilla, upload the contents of the wordpress folder (not the folder itself, but what is inside it) to the public_html folder on the server.
4 — Run the Installer: Open your website domain in the browser. You will find the WordPress installation wizard asking you for the data of the database you just created. Enter it and complete the steps.
In less than ten minutes, your WordPress website is working on a self-hosted server that you own and control.
Connecting the Domain to the Server — The Last Step
If you bought your domain from a different company than the hosting company (which is very common, as many people buy the domain from Namecheap and the hosting from SiteGround, for example), you will need to point the domain to the new server by changing the DNS records.
The hosting company will give you two Nameservers addresses that look like this:
ns1.hostingcompany.com
ns2.hostingcompany.com
Go to the domain control panel at the company where you bought it, and change the Nameservers to these two addresses. The change does not happen instantly. It takes from a few hours up to 48 hours because DNS servers around the world need time to update their records. This is called “DNS Propagation” and it is completely normal.
If you bought the domain and hosting from the same company, the redirection happens automatically and you do not need to do anything. This is one of the advantages of buying from one place at the beginning.
Things to Do Immediately After Launching Your Website
Before you announce to anyone that your website is live, here is your quick checklist:
1 — Activate HTTPS: In cPanel, look for “SSL/TLS” or “Let’s Encrypt” and install the certificate for your domain. Then, in the WordPress settings, make sure your website link starts with https:// and not http://.
2 — Check Search Engine Indexing: In WordPress Settings → Reading, make sure the option “Discourage search engines from indexing this site” is unchecked — as we mentioned in the SEO article.
3 — Install a Backup Plugin: UpdraftPlus is free and reliable. It schedules automatic backups and sends them to Google Drive or Dropbox.
4 — Change the WordPress Login Link: The default link /wp-admin is known to everyone who wants to hack WordPress sites. A plugin like WPS Hide Login changes it to a link you choose yourself.
Article Summary and Next Step
We learned together how to choose self-hosted web hosting with clear standards, how to use cPanel and find what you need in it, how to upload your files via FileZilla, and how to install WordPress and launch your website on a real domain. Your website is now fully yours… nobody controls it but you, and you are not subject to the limits of a free platform. This independence is worth every step of this journey.
Recommended Next Step:
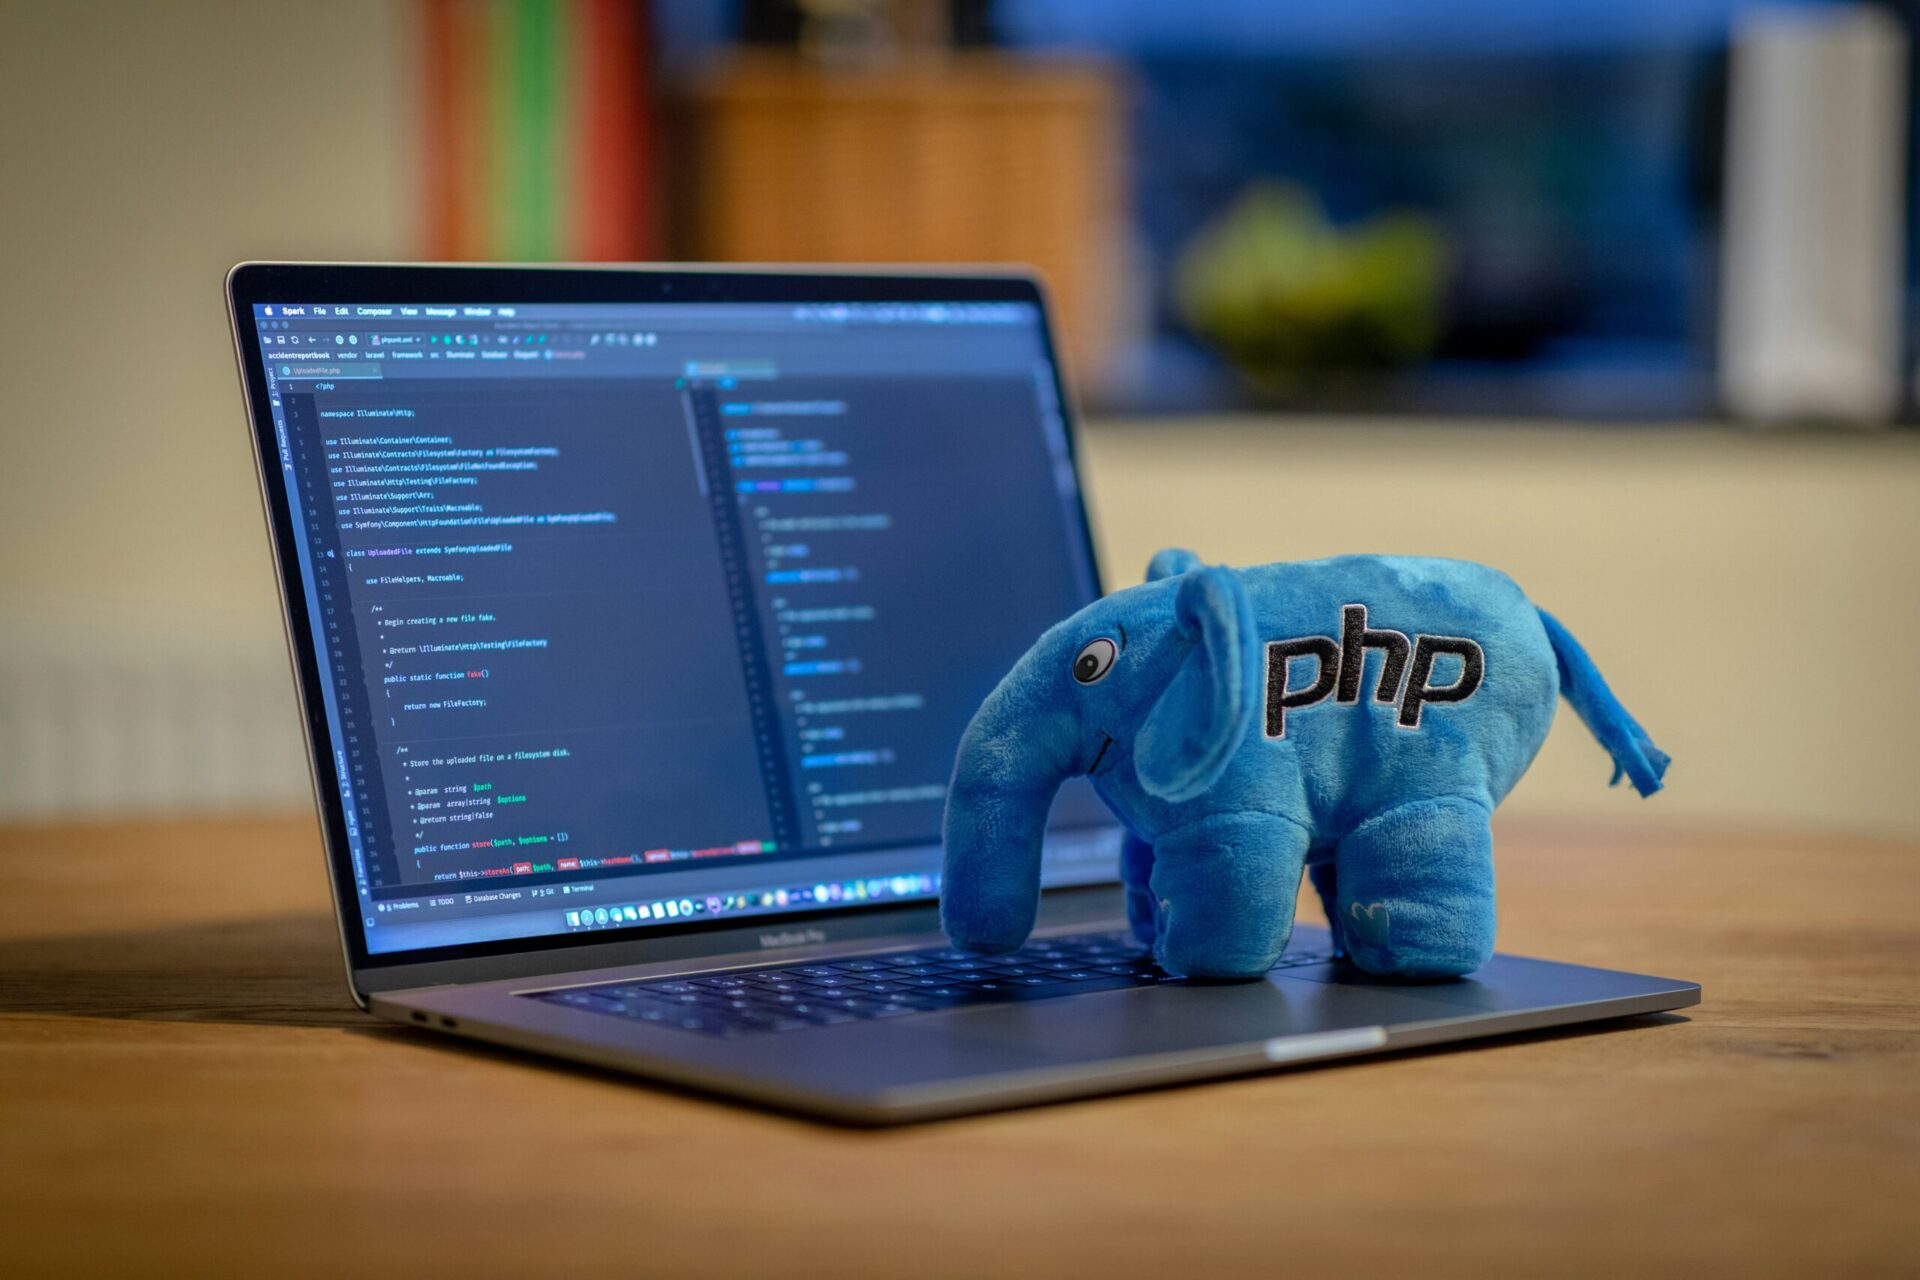
Now that your website is on a self-hosted server, you will start bumping into things you have never seen before: the functions.php file in WordPress, strange error messages, and small features that do not need a whole plugin to achieve. In the next article, we will learn about the language that runs WordPress itself, in a way that does not scare or complicate things: PHP for Everyone: Live touches that make your website smarter without programming experience.
References and Sources:
- The official WordPress installation guide: How to Install WordPress — WordPress.org
- Download FileZilla for free: FileZilla Project
- Explanation of DNS propagation from Cloudflare: DNS Propagation — Cloudflare
— Web Design Guide Series —
Previous Article: 9- Internet Backstage
Current Article: 10- The Independent Website
Next Article: 11- PHP for Everyone
Similar Series: Blogging Guide | Multimodal Blogging Workshop | SEO Guide
Zy Yazan Platform © 2026
Freelancer Workshops
Web Design Guide — 14 Articles


Series Web Design Guide — 14 Articles | ZYYAZAN Platform © 2026